How to Use an Embroidery Hoop
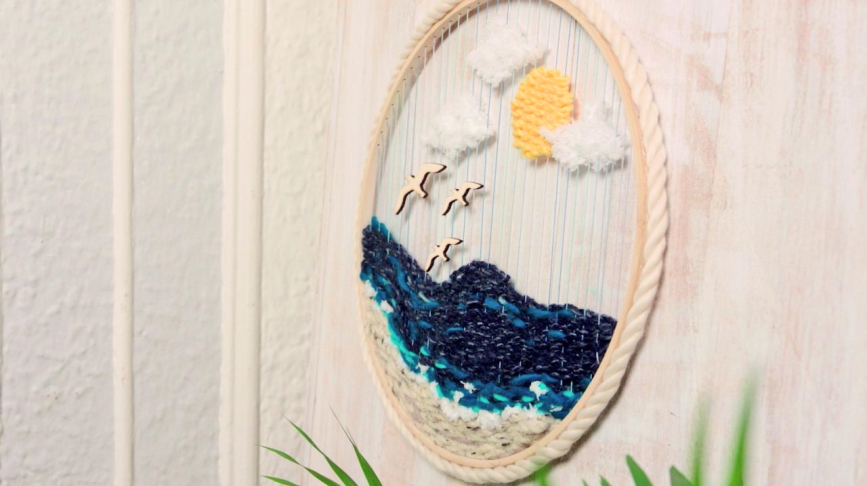
An embroidery hoop consists of curved rings. The larger ring has a metal screw tightening device. The craftsman replaces the hoop on a big piece of cloth. Embroidery hoops are familiar to anyone doing cross-stitching or hand embroidery, and there is much to know about these all-present tools. In this post, you’ll learn about embroidery hoops, including different kinds of hoops, making it a complete guide to hand embroidery hoops.
Hoop Sizes
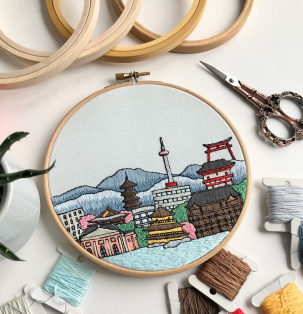
Hoops come in a multitude of sizes ranging from 4 inches to 12 inches. Quilting hoop sizes can be bigger than these. Smaller hoops are comfortable to control while stitching than larger ones. Artisans usually go for hoops that are approximately 5 and 8 inches in diameter. Choose a hoop that is approximately one inch greater than the layout you are stitching. Holding a hoop larger than 8 inches can be awkward, so for a bigger project, it’s perfectly alright to reposition the garment in the hoop as needed; make sure to remove the fabric from the hoop when you’re not stitching.
How to Use an Embroidery Hoop
 An embroidery hoop is essentially the same regardless of which style you choose. Let’s see how it works.
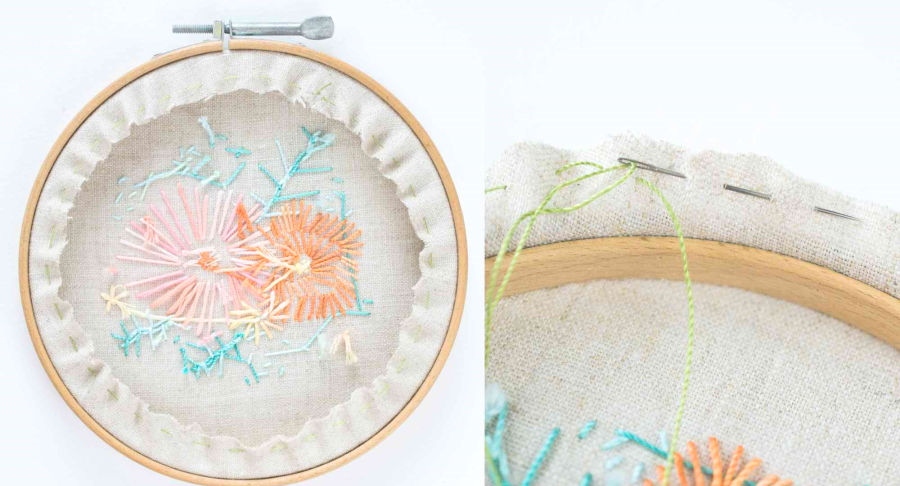
- Separate the two rings of hoops by loosening the side screw. Place the fabric on the inside ring of the hoop.
- Now place the outer ring on the cloth piece. Make sure you do it on a flat surface to avoid slips and dislocations.
- Start tightening the screws but don’t do it all the way. Just do it to the point where the cloth does not slip.
- Now with one hand, pull the fabric downwards evenly. Do it firmly so that the cloth does not get wraps.
- With the other hand, tighten the screw all the way.